Build a Dinosaur Best Parts Tier List
S–C rankings for custom dino parts—with honest meta caveats.
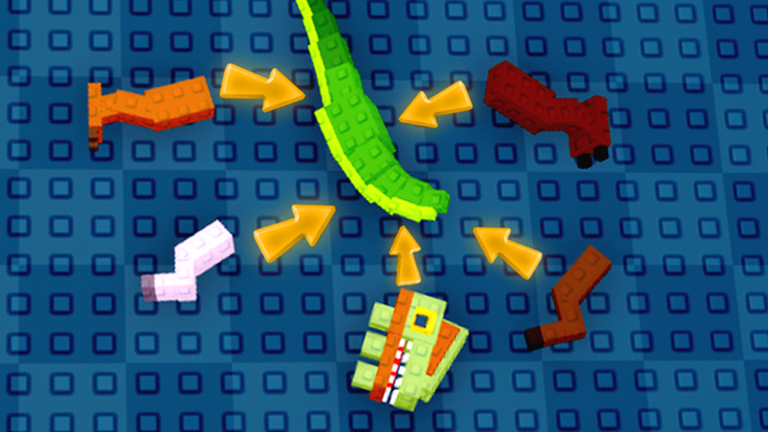
This Best Parts Tier List ranks Build a Dinosaur part strategies for Pixel Gold Games’ Roblox tycoon. You buy parts, assemble a custom dino, earn Cash online and offline, protect a base, and Rebirth when growth stalls. Parts are the main spend sink, so ranking them poorly costs hours of income.
Important honesty check first: the exact shop meta can shift after updates, and public patch notes are often sparse. Treat tiers as reasoning templates tied to cash efficiency, storage value, and defense value—not as frozen part names that never change. After a big patch, re-test your top two buys and skim Updates Hub. Pair this page with Codes for early Cash, Getting Started for the loop, and Progress Checklist for stage goals.
Ranking criteria
| Lens | Question you should ask |
|---|---|
| Cash efficiency | Does this part raise income fast enough for its price? |
| Storage value | Does it help you hold more useful parts or reduce rebuild friction? |
| Defense value | Does it make base protection / recovery less punishing? |
Cosmetic-only flex pieces almost never outrank income or stability pieces unless you have already finished your current progression block.
S-Tier — Buy these when they are available and affordable
S-tier body cores sit at the top because the body is usually your income chassis. A stronger body that multiplies or stabilizes Cash generation beats a flashy head that barely moves earnings. Prioritize body upgrades that clearly improve offline and online returns before you chase niche looks.
S-tier income heads earn a place when they meaningfully amplify generation or synergize with your current body. If a head costs a fortune for a tiny bump, demote it mentally even if it looks premium.
S-tier utility tails belong here when they improve sustain—better balance between earnings, survivability, or rebuild speed. In a tycoon with offline Cash, tails that keep the loop smooth after short breaks are worth more than tails that only look aggressive.
S-tier rule of thumb: if a part shortens the time to your next Rebirth without creating a new storage crisis, it is doing S-tier work.
A-Tier — Excellent once the core loop is stable
A-tier specialized heads are strong when you already have a competent body. They are the “second purchase” category: great for pushing mid-game income, weaker if bought before your chassis can carry them.
A-tier storage-friendly part sets matter when you constantly hit hold limits while shopping. Anything that reduces delete/rebuild churn (remember: double-click parts to delete when needed) saves time and Cash leakage from bad swaps.
A-tier defense-oriented pieces climb when servers feel contested or your base keeps getting punished. Defense value is not always literal armor; sometimes it is faster recovery, safer offline returns, or fewer forced rebuilds.
Use A-tier after you redeem codes, lock a basic income body, and confirm you are not about to Rebirth in the next few minutes.
B-Tier — Situational or phase-dependent
B-tier mid-cost fillers bridge gaps when S/A options are temporarily unaffordable. They are fine as stepping stones, poor as vanity end points.
B-tier experimental tails and accessories are for players testing synergies or collecting looks after income is healthy. If a piece is fun but flat on Cash, park it in B until your checklist says late-game.
B-tier “almost upgrades” look like progress but barely beat your current setup. Buy them only when the next true upgrade is far away and you need a temporary bump to reach it.
C-Tier — Low priority for progression
C-tier pure cosmetics are last unless you are playing for style screenshots. They do not help Cash, storage, or defense enough to justify delaying Rebirth.
C-tier outdated early parts should be sold, deleted, or replaced once better cores exist. Keeping dead weight in your build can hide how strong your next purchase should feel.
C-tier impulse shop traps are expensive pieces bought because they appeared during a short session. If you cannot explain the purchase with one of the three lenses, it is C-tier behavior even when the part looks rare.
Slot-by-slot strategy
Body
Open with the best affordable body that raises stable generation. Revisit the body after every major Cash spike from codes or offline earnings. Body first, flair later.
Head
Treat the head as a multiplier or specialty layer on top of a working body. If head prices spike harder than body prices, wait. A mediocre head on a great body usually beats a great head on a weak body.
Tail
Score tails on sustain and friction reduction. A tail that helps you stay online longer, recover faster, or keep offline income consistent can outrank a flashier combat-looking option in a Cash tycoon.
Support / other parts
Anything outside the main silhouette should earn its slot by solving a bottleneck: storage pressure, defense gaps, or awkward rebuild cycles. If it does none of those, it is a cosmetic budget item.
Early / mid / late shopping plans
Early game: Redeem Codes, buy a cash-efficient body, attach a cheap functional head/tail pair, and avoid Premium-tier dreams. Follow Getting Started and tick early boxes on the Progress Checklist.
Mid game: Re-evaluate body again, then spend into A-tier heads or storage-friendly sets. If storage is the wall, compare free habits against the x2 Storage pass on Game Passes and Game Pass Worth It.
Late game: Optimize for Rebirth readiness. Replace C-tier leftovers, keep only parts that still move income or defense, and stop buying fillers the moment Rebirth value exceeds shop nibble gains.
Common mistakes
- Buying the coolest head before a competent body.
- Ignoring offline Cash when judging a part’s return.
- Hoarding obsolete parts instead of deleting and re-rolling the build.
- Spending into cosmetics right before a planned Rebirth.
- Copying another player’s full loadout without matching their pass setup or Rebirth count.
How to re-rank after an update
When the game updates, do not scrap your whole philosophy. Re-run a 10-minute test: note Cash before purchase, buy one candidate part, measure the bump, and compare that bump to an alternative of similar cost. If the old S-tier loser still wins on measured income or friction reduction, keep it. If not, promote the new winner and leave a mental note that the meta shifted.
For pass interactions, remember that x2 Cash changes the math on every efficiency ranking, while x2 Storage changes how aggressively you can shop and experiment. Premium should be evaluated last unless you already know you want the full comfort package—details live on the Game Passes Tier List.
Related links
Stay flexible, measure your own income, and let bottlenecks—not hype—pick your next part.
Frequently Asked Questions
Quick answers for Build a Dinosaur on Roblox.
Why aren’t exact part names locked forever on this list?
Shop balance can change and public notes are sparse. Ranking by cash efficiency, storage, and defense stays useful even when individual parts move.
Should body parts always come before heads?
Almost always in early and mid game. A strong body usually creates more Cash than a premium head on a weak chassis.
Do codes change the tier list?
Codes do not rewrite tiers, but free Cash from Codes can let you reach S/A options earlier.
When should I stop buying parts and Rebirth instead?
When shop upgrades become tiny nibble gains and your checklist says you are Rebirth-ready. See the Progress Checklist.
How do game passes affect part rankings?
x2 Cash raises the value of income parts; x2 Storage makes experimentation cheaper. Compare options on Game Passes.